Sunday, March 2, 2014

MOUSETRAP CAR

CARSON AND JASMIN'S MOUSETRAP CAR!

Speed: 8 seconds
Place (in class): 7th 

So how did we design our car? 
 (labeled picture from Jasmin's blog)

This picture basically shows the general design of our car. 

Wood base: We used the wood as a base of our entire car. We originally used cardboard, however, we realized later on that the cardboard was not strong enough to support the mousetrap, and the many other things we attached to it. Unlike the cardboard, the wood did not bend. Therefore, it was much stronger. Through having a strong base, the car was more balanced and steady. 

Metal rod (lever arm): For the lever arm, we used a thin metal rod. Similarly to the wooden base, we realized that we needed to use a material that would not easily bend or break because of the force that would be exerted on it. The metal rod was extremely strong therefore could handle the force of the mousetrap. The purpose of having the lever arm was to hold back the string so we could wind it up. When we let go of the lever arm, it would slowly move forward as it allowed the string to unwind, moving the car. We used duck tape to attach the lever arm to the mousetrap.

Wiry string: We used string to attach the lever arm to the front of the car, allowing it to move. We originally used a thick string, however realized that it got caught in the front of our car because of its size. Instead, we found a very thin string in the art room that took up much less space. The string was wound up and allowed the lever arm to unwind it when we let go, allowing the car to move. We duck taped the string to the lever arm, and hot glued it to the axil. 

Mousetrap (obviously): The mouse trap was the power house of our car. Through the force exerted when we set it off, the car moved.

Wheels/axils: Luckily, we were able to pull the wheels (and the metal rods they were attached to) straight off my brother's old playmobile car. (although it did take a good hour of smashing the car with a hammer to do so.) These wheels were great given the fact that they were designed to move a small car. The rubber tire material created traction. Also, they were very evenly balanced which allowed the car to move in a straight direction. We hot glued the front wheels to the wooden base, however, we were not able to do that on the back wheels because we needed the axil to spin at the same rate as the wheels. Because of this, we had to hot glue the wheels to the axil and then use binder clips to attach the axil to the rest of the car. 

Broken Chopsticks: The chopsticks were used as something for the binder clips to grip onto. The clips would not clip onto the wooden base, so we hot glued chopsticks so that they could attach. 

Binder Clips: The binder clips were just big enough to attach the wheels to the wooden base while still giving them room to spin. We put the axil in the wholes of the binder clips, then clipped them onto the car. This was effective as we were able to also move the clips forward or backward to stop the car from turning in a certain direction. 


Heres a video of our car

Our car does go pretty slow, however it goes over 5 meters! 

REFLECTION

Newton's Law's application in our car

Newtons 1st law: Newtons first law states that objects in motion will stay in motion unless acted upon by an outside force. This was applied in our mouse trap car, because through setting off the mouse trap, our act acted as an outside force. Therefore, it started moving. Additionally, when our car would run into a wall, or friction increased, that would act as an outside force as well, causing the car to no longer be in motion.

Newtons 2nd law: Acceleration is produced when force acts on mass. This was present in our car because the force of us setting off the mousetrap acted on the mass of the car. Because this law states that mass and force are inversely proportional to acceleration, we tried really hard to keep the car as light as we could so that it would go faster. 

Newtons 3rd law: Newton's 3rd law states that for every action, there is opposite or equal reaction. This meant that with whatever action our car produced, the ground would do the same. Therefore, the balance and strength of our car became a very important factor in building it. This is why we have the strong metal lever arm, wooden base, and balanced wheels. We tried to keep everything evenly distributed, (binder clips etc). We wanted the mass to be even on both sides of our car. 


FRICTION?
The two types of friction that were present in our mousetrap car were static and kinetic. I think that the problems we encountered most when dealing with friction was wheels. Before we found the playmobile car, we had ideas of using cd's or records. However, because of the very thin edges of both of these objects, not much friction would be produced. So, instead of using them, we found the other wheels which were chiseled and rubber, therefore created a lot of friction. Through having a lot of friction, the tires were able to grab the ground more effectively, and move forward. Through doing this, we used friction to our advantage. 

WHEELS? 
Jasmin and I originally wanted to use three wheels. We wanted to use two records in the back, and a CD in the front. However, as we researched more, we not only realized that this would not create enough friction, but it would not be as balanced. Through using 4 wheels of equal sizes, our car was very balanced, reducing it's want to turn to certain sides or tip over. Although three wheels could have been effective, we decided that balance was more important. Our wheels were not too big not too small. The benefits of having larger wheels is that through each rotation, the wheels will cover more distance. However, they are also heavier than smaller wheels. While smaller wheels are lighter, they cover much less distance in each rotation. So, we decided to do a medium size for a compromise between them both. 

CONSERVATION OF ENERGY
The law of conservation of energy states that energy can neither be created nor destroyed, but can only change form. Both kinetic and potential energy were very present in our car. However, the amount of energy in my car remained the same throughout the entire project. Therefore, our focus became how efficiently we could use this energy. By pulling back the lever arm that was attached to the string, we tried to store the maximum amount of potential energy so that when we let go, it could transform into as much kinetic energy as possible. 

LEVER ARM
The lever arm was not a difficult aspect for us. Moe gave us the rest of his metal rod (which was a lot) so we just used that. We realized that the longer the lever arm, the farther the car will go. This is because we could use more string and have the car go for a longer amount of time as the string is what allowed the force of the mousetrap to move the car. Because of this, we wanted to make it pretty long. We also wanted the lever arm to be directly attached to the mousetrap so that the force will remain strong. So, we securely duck taped it to the mouse trap. We also made sure that the metal rod was strong as we did not want it to bend under the force of the mousetrap. Because it was strong and sturdy, it was able to store as much potential energy as possible. I think that the only negative part of this is because it was so long/heavy it did reduce the speed of the car. We focused a lot on distance when we should have been a little bit more speed prioritized. 

ROTATIONAL AND TANGENTIAL THINGS
We definitely took tangential velocity into consideration as we designed the wheels. Tangential velocity is the speed an object moves in a circular path. The distance from the axis of rotation is a major factor of this. So, bigger wheels would mean more tangential speed. We avoided using really small wheels for this reason. However, as I mentioned earlier we also wanted our car to be balanced so we didn't use too big of wheels. Rotational velocity is how fast the wheels spin. By having really big wheels, that means the mass would be further away from the axis of rotation therefore have less rotational velocity (and more rotational inertia!!) and go slower. So, we needed to find a compromise between having a lot of rotational velocity or tangential velocity. We did this by having medium sized wheels which benefited from both tangential and rotational velocity. Additionally, rotational inertia was applied in our car as it is the property of an object to resist change of spin. Through having the mass of the wheels further away from the axis of rotation we had more rotational inertia. Again, we needed to find a compromise of medium wheels in order to find a good balance of all three of these properties. 

CALCULATIONS??
WE CANNOT CALCULATE WORK BECAUSE THE FORCE AND DISTANCE ARE NOT PARALLEL! While the force is vertical, the distance is horizontal, which means NO WORK IS DONE. Potential energy is Pe=mgh. However, we cannot calculate the potential energy because we do not know the height or mass of the system. Because we do not know the potential energy, we also cannot figure out the kinetic energy because we do not know the velocity or mass. Additionally, we cannot know the acceleration because we do not know the speed our car traveled. In order to find the force in the acceleration problem we would have to solve for the f variable. This would mean that we would have to know the total acceleration which as I mentioned earlier, we do not. 

Reflection
Our final design completely differed from our original design, We originally wanted to have three wheels, using CD's and records. Additionally, we had no plans for a lever arm. However, as we researched more and tried out different things, we realized the changes that we needed to make. I don't think anything in particular really prompted our changes. We just tried everything out, and when it didn't work, we changed it. We also got a lot of inspiration from other people's cars. We would watch what did and didn't work for them, and take it into consideration as we tried certain things. 
We definitely encountered a lot of problems in this project. I think the first major issue we had is figuring out where to start. We spent an entire class period honestly doing nothing because we could not decide what to do. This was pretty difficult as we fell behind everyone else. However, I began spending more time at home planning ideas, while Jasmin would as also. We also had issues with the axil. We had no idea how to securely attach the axil to the car while also allowing it room to rotate. However, with the help of Mr. Rue, Jasmin suggested binder clips which was a great idea. Then, we used the leftovers of broken chopsticks to execute this idea. Although the binder clips left room for string, it was not much. This became a problem as the string we originally used became tied up in the binder clips when we would let go of the lever arm. We fixed this by finding thinner string. Finally, our last issue was our car would constantly curve to the left, running completely into the wall. Luckily, we were able to easily move the right binder clip up, which slightly curved the wheels to the right, making the car go in a straight path.
If I was to do this project again, I think I would definitely work on finding lighter materials. While our materials were very steady and strong, I think in some cases they were heavy, which prevented our car from going really fast. This was particularly present in our lever arm. It was a lot longer then it needed to be and while it was effective in distance, it slowed down our car. Overall however, I am really proud of the work Jasmin and I put into this project, and despite our 8 second time, I'm really happy that we made it 5 meters and the success we had with this car. 

Sunday, February 16, 2014

Unit Blog Reflection


UNIT BLOG REFLECTION

In this unit, I learned.....

WORK AND POWER
when a force moves something through a distance, work is done. 
Work= force x distance 

Work is measured in joules. 

When is work present?
Work is present when both the force and distance are parallel. When grocery shopping, both your distance and force are parallel when pushing a cart, therefore work is being done. 
Also, when this boy pushes a sled, work is being done because force and distance are parallel. 

WHERE IT GETS TRICKY
Stairs....
Stairs can be confusing. If you are going up stairs you DO have work, however, the confusing aspect is what distance you use, as there is a horizontal and vertical distance. YOU USE THE VERTICAL DISTANCE. 
Let's try this out
I need to go to second mitchell. In which case will I use more work, the stairs or the elevator?
Answer: I will use the same amount of work in both cases because I will have the same force as well as travel the same distance. 


Is work present in this? ^^^
Answer: No, there is no work because the force and distance are not parallel. While the distance is horizontal, the force is vertical. Also, there is no work on the tray because it is moving. 
Also, if someone is pushing something and it does not move, no work is done. 

POWER
power is how quickly work is done. 
power=work/time
power is measured in watts

1 Horsepower=746 watts
funny animated gif on Giphy
Light bulbs
So, 100watt light bulb will generate more power therefore do work faster than a 60 watt lightbulb. 

WORK AND KINETIC ENERGY RELATIONS
Where did work come from?
Mass & speed have the ability to do work
movement fuels energy
SO....
Kinetic Energy=1/2mv^2

change in kinetic energy=KE(final)-KE(initial) 

kinetic energy is basically energy something has when moving

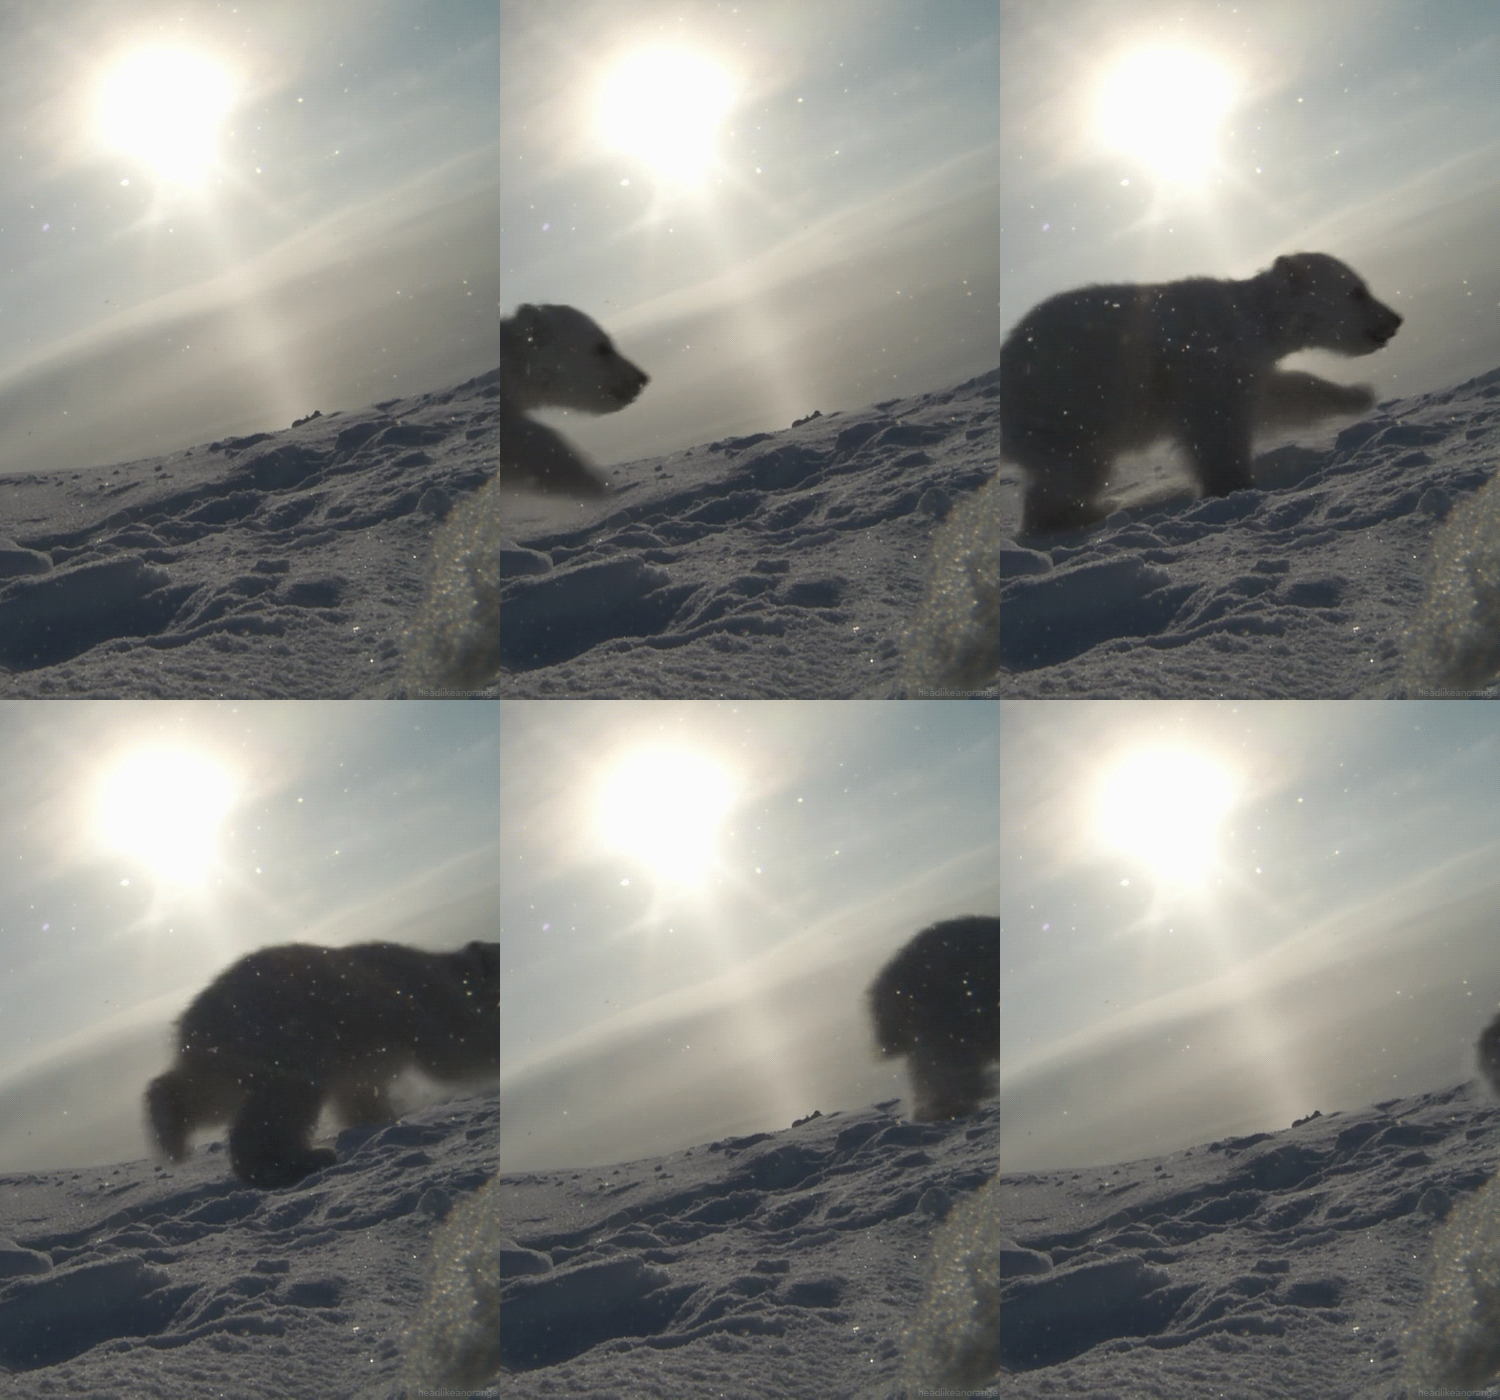
This polar bear is generating kinetic energy because it has a velocity and mass, and as it moves, this is being applied into kinetic energy. 

does he have kinetic energy?

he does not have kinetic energy because he does not have a velocity. If something does not have a velocity, it cannot have kinetic energy. 

CONSERVATION OF ENERGY
key question:

Why do airbags keep us safe?

1) When we are riding in a car, we are moving, therefore doing work.
2) kinetic energy=1/2mv^2
3) change in kinetic energy=KEfinal-KEinitial 
4) change in kinetic energy=work
5) work=force x distance
6) the airbags increase the distance therefore the force is less. conservation of energy: work with airbag=work with dash

POTENTIAL ENERGY
Potential energy=potential energy is the energy of position. Movement can be transformed into kinetic energy. 

when you throw something up, because of the force of gravity, the higher you get up, the less kinetic energy you will have as it will be converted to potential energy

when kinetic energy goes up potential energy goes down and vice versa

PE=mgh
so how do roller coasters work?

roller coasters are able to function because they store up potential energy then it is converted into kinetic and then back to potential, then back to kinetic, and so on. The law of conservation of energy.

INCLINED PLANES/MACHINES

we use ramps to ultimately reduce the amount of force it takes to get somewhere, when you increase the distance, the force is less. That is what ramps do. 


machines also reduce the amount of force and increase distance


For pulleys, tension on each side is equal. 


SCISSORS
the long handle and short blade allow scissors to cut with more force
EFFICIENCY=workout/workin
the work out can never be more than the work in

WHAT I FOUND MOST DIFFICULT
This unit was definitely difficult. I struggled in a lot of areas, particularly the machine section. However, I got over these difficulties through conference period and looking at other peoples blogs. The light bulb clicked when doing so. 

My problem solving skills got better....
Obviously, the more we solve problems, the better we will get at them. Therefore, the more problems I do, the better I will get at them. Through doing take home quizzes, I was able to really sit down and work things out slowly, therefore understand problems better. Through this process, I was able to improve my problem solving skills. 

My goals for next unit is to do better on quizzes, because I recently scored poorly on the latest quiz. In order to do this, I need to work harder to seek extra help when I need it. 

REAL LIFE? Real life connections are present throughout my explanations. 


MY PODCAST WILL NOT EMBED SO HERE IS A LINK!

http://www.youtube.com/watch?v=zEGO1eI-SNg 

Thursday, February 13, 2014


I chose this video because I think that it gives a very good explanation of the mechanics concept and how work, energy, and power are used. It is very engaging because while he explains things, he also writes things down which is super helpful.

Sunday, February 2, 2014

Power and Work Resource


Here is a video that I found very relevant to what we are studying in physics right now. This video talks  about the power of light. I think that it really connects energy, power, and work together in one example. This is also engaging because light is a very essential part of our lifestyles so it is interesting to see the physics behind that.

Monday, January 27, 2014

Unit Blog Reflection (Semester 2)


In this unit I learned about.....

CIRCULAR MOTION
Linear speed: the distance traveled per unit of time
Tangential speed: something moving along a circular path
Rotational/angular speed: number of rotations or revolutions per unit of time


Who has a higher tangential speed? Darth Vader or the guy in the far left? 

The guy on the far left actually has a higher tangential speed because he is on the outside of the carousel. Because he is on the outside, he is further away from the axis of rotation and will need to go faster in order to maintain the same rotational speed and travel the same distance in the same time interval. 

Running on a track is the same scenario, the runners on the outside will need to go faster in order to maintain the rotational speed of those running on the inside 

Gears? 


Gears kind of contradict our previous ideas of rotational and tangential speed because gears actually have the same tangential speed, but differ in their rotational speed. This is because in order to cover the same distance, they have to go at different rates because they are different sizes and have different amounts of teeth. However, tangential speeds are the same because a point on the edge of each gear will cover the same distance in the same time interval. 

So how do train wheels work? 


Train wheels are designed very carefully based on our knowledge of tangential and rotational speed!


One of the key aspects to train wheels is the fact that they have unequal tangential velocities. The wide part of the wheel has a large tangential velocity while the small part has a slow tangential velocity. The fast part of the wheel causes the wheels to curve toward the track and self correct. (rotational velocity is the same) 


Are monster trucks really that cool?

Of course not, not only do they look ridiculous, larger tires actually make you go slower. This is because the rotational speed will be less because it takes longer for each tire to make a full circuit.

Rotational Inertia and Angular Momentum


Who is going faster? 


The ballerina! 
This is because she has less rotational inertia which means MORE rotational velocity!

How does this work? 

Rotational Inertia:
like regular inertia, inertia is the property to resist changes in motion. (hello, newtons 1st law)
It is the property of an object to resist changes in spin
Lots of rotational inertia=harder to spin
Less rotational inertia=easier to spin
It also depends on mass! however, it primarily matters where that mass is located. 
As you can see in the pictures above, when the dancer brings her arms in, she goes faster. This is because when mass is located closer to the axis of rotation, it will have less rotational inertia. However, when the girl below her held her arms out, she went slower. This is because her mass is mainly located far away from the axis of rotation, so it will have MORE rotational inertia. 

Why do runners bend their legs?


When you bend your legs, you are bringing your mass closer to your axis of rotation, therefore making it easier to spin. 

Conservation of Rotational/Angular Momentum

total momentum before=total momentum after
Angular momentum is based off of rotational inertia and velocity
angular momentum=rotational inertia x rotational velocity
R.I. x R.V. (before)= R.I. x R. V. (after)

notice the rotational inertia and velocity before and after she brought her mass together and spun. 

R.I. x r.v. (before)= r.i. x R.V. (after)
before she spun she had more inertia and less velocity, but while spinning she had less inertia and more velocity. Because angular momentum before=angular momentum after, they must equal each other. 

TORQUE AND CENTER OF GRAVITY

Torque= something that causes rotation
torque=force x lever arm
(btw lever arm is the distance from the axis of rotation)


Hmm....where should I put my doorstop?

as far to the edge as possible! why? because you are increasing the lever arm! through increasing the lever arm you are increasing the torque which will make the door stay put!


hmmm, which wrench should I use?

you probably think the first because it is much BIGGER than option 2. However, that is not the major reason! The first wrench would cause a larger torque because it has a LONGER lever arm!

CENTER OF MASS/GRAVITY
Center of mass: average position of all of an objects mass
Center of gravity: is when gravity acts on this spot 

so why do I have to bend forward when I wear a backpack? 

This is because adding a backpack is adding more mass. SO, your center of mass shifts. In order to stay balanced (center of gravity must always be above the base of support) you have to lean forward. 


who is more likely to fall over?

The model! why? Because, as shown in the picture, Nadal has his legs spread far apart and his knees bent. By doing this, he is increasing his base of support therefore making it harder for his center of gravity to fall out of the perimeter of his base of support. Additionally, his knees are bent making his center of gravity lower, and also making it more difficult for his center of gravity to fall out of his base of support. The model is standing up straight and her legs are very close together, making it fairly easy for her to fall. (also she is wearing high heels, yikes.)

How do we balance?

we become balanced when the counter clockwise torque=the clockwise torque. This means that the force x lever arm of one side equals the force x lever arm of another side. This does not necessarily mean they need to have the same force or lever arm. Together, they just need to equal each other. 
Balance means there is no net torque

image
notice how this tight rope walker keeps his arms out while walking in order to keep balance. why?
he does this because through having his arms out, he is able to obtain more rotational inertia. You can gain more torque when you have your arms out (more lever arm) therefore gain your balance back more easily. 


why do we feel speed bumps more in in the front or back of a school bus rather than the middle?

Centripital/Centrifugal Force

Rewind to the inertia days...
central question: why, when we turn corners in cars, does it feel as if we are slamming into the side of the car? 
INERTIA
you keep going straight forward, however, your car is effected by centripetal force therefore there is a force acting on it wanting to to come to the center, SO it does, and while it is doing so, it slams into you.

Centripetal force: the center seeking force, keeps you going into a curve
Centrifugal force: doesn't even exist...

Centripetal force is the force pushing on an object that has regular inertia, causing it to change it's direction. It accelerates an object causing it to change directions. 

So why don't I just go straight to the middle because of centripetal force? 
BECAUSE newton's 1st law causes you to go sideways because you still want to remain in a straight line, but centripetal force wants you to go to center, SO you go sideways!

Where else does this happen? 


The moon has inertia and centripetal force therefore will constantly go in a circular motion around the earth!
don't get confused: even though we don't change speed, we change direction which changes velocity

What happens in washing machines?


Clothes, (or snoopy...) are trying to go straight (inertia) while the machine is going in a circle, causing the clothes to smack the sides therefore water is getting smacked out of them through the holes. Centripetal force acts on the clothes and they are forced in a circular path, but the water is not. 

Real life Centripetal force scenarios....


roller coasters-gravity acts as centripetal force. They make the path smaller than the wider force of gravity path making you not only stay, but have a greater acceleration.


Race-cars and banked tracks. If the ground were flat, friction would be the only force. However, when the ground is being pushed up, centripetal force is left. There is centripetal force simply out of the race track be slanted, giving the car more centripetal force. 

WHAT I FOUND MOST DIFFICULT ABOUT THIS UNIT
I think that I found centripetal force the most complex in this unit. I had a lot of trouble, particularly with the race car concept, which was accompanied with the roller coaster concept. However, I got extra help, and also looked at other people's physics blogs for references in various issues I have had this semester. I think that the light bulb clicked during class, when we were going over answers at our table. Wyatt explained something to me which made the concepts much easier to understand. 

Problem Solving Skills
I think that this semester has been a huge turn around for me. Last semester, although I tried, I wasn't completely engaged in physics. However, this semester I have tried to be fully attentive during class, as well as complete my homework thoroughly instead of just trying to get it over with. I also started studying with friends for quizzes which helped me a lot, as my quiz grades have improved. With a greater effort, I am finding that physics is coming easier to me, therefore my problem solving skills are definitely improving.

*real life comparisons are in previous explanations*
Like I mentioned in previous blog posts, physics is really present in everything we do. As I learn more about it, I become much more aware of the world around me, and much more interested. 


Monday, January 20, 2014

The Mass of a Meter Stick

Mass of a meter stick without a scale: explanation and process 

part 1-Step 1 and 2:  


Step 1-Demo

A) In step A, we were supposed to evaluate what would happen when the meter stick is not balanced on the edge of the table and has a torque. Because it is off balance, I knew that the center of gravity will not be centered above the base of support, causing it be off balance and have a torque.


In this picture, the center of gravity is hanging off of the table. So, the ruler will rotate clockwise. The ruler's center of gravity is not over the base of support, so there is a lever arm. Torque depends on lever arm and force SO there will be a torque, causing the system to be off balanced. 
( torque= force x lever arm) 


B) In step B, we are supposed to evaluate the system when it is completely balanced. If something is balanced, there is no lever arm or torque because the center of gravity should be exactly above the base of support. 

In this picture, the center of gravity is directly above the table (basis of support). This means that there is no torque or lever arm causing it to be completely balanced.

C) 
(I GOT THIS PICTURE FROM CATHERINE)
Catherine took this picture in class of the 100g weight that is added to the end of the meter stick. Obviously, putting a 100g weight will certainly change the center of gravity/mass. This will force the meter stick to have a new point of center of gravity in order to balance the new 100g weight. However, because the system is not falling, and a new center of gravity has been found, the system is balanced. This means that the clockwise and counterclockwise torques are equal. (torque=force x lever arm)


Step 2- Planning

Wyatt and I approached finding the total mass by deciding to find the torque of the system. Because of this, we needed to use the equation torque=force x lever arm  
We also used the equation of counter clockwise and clockwise torques
counterclockwise torque = clockwise torque
f x la (before)= f x la (after)
finally we used the equation of weight to be able to calculate the force.
weight=gravity x mass

Aside from equations, we also needed to find the lever arms of each side of the center of gravity in order to fill out the angular momentum equation.


(also Catherine's pictures)
We planned to measure each lever arm in order to fill out the angular momentum equation.

Step 3-Process
When we finished planning equations and measurements, we eventually began calculating. We began by calculating the force of the weight in order to start filling out the equation of f x la (before)=f x la (after)
weight=mass x gravity
weight=.1kg x 9.8
weight=.98N 

.98N x la (before)= f x la (after)

After this, we measured the lever arms. The calculation of the side with the weight was relatively simple as we just needed to measure from the table (the center of gravity).
we measured it to be 29.5 meters

.98 x 29.5 (before)= f x la (after)

Then, we measured the lever arm of the other side. This was slightly tricky because we needed to measure from the center of mass of the ruler (excluding the extra 100g weight). This meant measuring from the exact middle of the ruler (50). We then were able to calculate the lever arm. 

We measured it to be 20.5

.98 x 29.5= f x 20.5

We then realized that we simply needed to solve for f. Through doing the math and converting to kilograms, we ended with the number .1439 kilograms, only .01 off of the actual weight. 

Step 4-Final Drawing!